Building a custom page in Drupal 8/9

Introduction
In this blog post we will create a simple module that creates a custom page (we'll also touch on passing a url parameter) and then outputting content to the custom page using a custom twig template file. There are lots more we can do in terms of routes etc, so this is quite a basic tutorial in that regards. For this blog post, I do assume that you have some knowledge of object oriented and procedural programming in PHP.
First of all we need to create a folder to contain the new custom module, this should sit inside the drupal-web-root/modules/custom folder.
The info.yml file
In order for Drupal to recognise that we have added a module to the custom modules folder is to add an info.yml file, with the name of [module name].info.yml, this goes in the folder created for the custom module.
The first thing you need to set is a name for the module.
Followed by specifying that we are creating a module, this is done using the type key, so that Drupal knows what you are creating.
Optionally, you can give the module a description.
Likewise you can also give the module a package name, this is used to group modules together so that they can be found more easily on Drupal's extend page.
Setting the core version requirement using the core key is now only needed for versions of Drupal 8 before 8.7.7, versions after 8.7.7 require a different key to be set to let Drupal know if the module can be used on Drupal 8 and/or 9. So setting the core version here is no longer needed really.
So we now have to add the follow line to the info.yml file.
core_version_requirement: ^8 || ^9If dependencies are specified, then these would be listed in the [module name].info.yml file for the module. For example, below is the dependencies set in Drupal cores node module, which requires the Drupal core text module to function.
dependencies:
  - drupal:text
Below is the contents of the info.yml file that we have created for this tutorial, incorporating what we have mentioned above.
name: 'Custom page'
type: module
description: 'My Awesome Module'
package: 'Custom'
core_version_requirement: ^8 || ^9
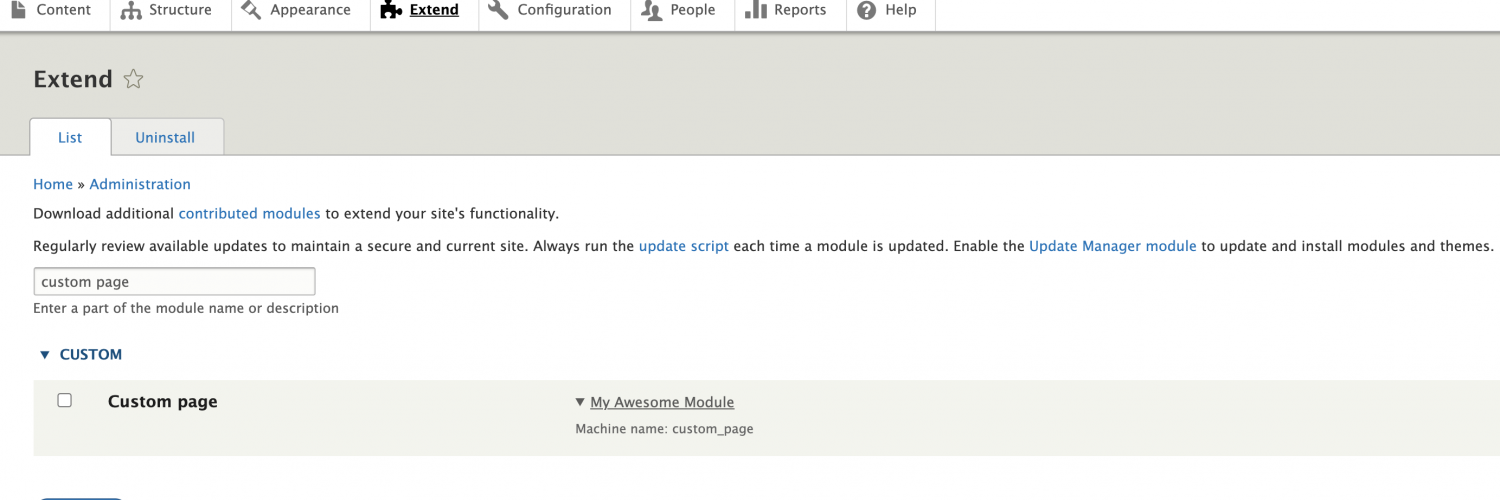
If you clear Drupal's cache and go to the 'Extend' page, you should see a group called 'Custom' that lists one module called 'Custom page', just like what can be seen in the image below.
The module file
The purpose of the .module file is to store any functions needed to provide some of the functionality that you wish the module to provide, such as using any of Drupals hooks that can add new or alter existing functionality or manipulate data/ output.
Drupal 8/9 utilises a mix of procedural and object oriented programming methods.
When using Drupal console to generate the module, it adds an implementation of the Drupal hook called hook_help, which can be used to provide help information to the help pages within Drupal.
<?php

/**
 * @file
 * Contains custom_page.module.
 */

use Drupal\Core\Routing\RouteMatchInterface;

/**
 * Implements hook_help().
 */
function custom_page_help($route_name, RouteMatchInterface $route_match) {
  switch ($route_name) {
    // Main module help for the custom_page module.
    case 'help.page.custom_page':
      $output = '';
      $output .= '<h3>' . t('About') . '</h3>';
      $output .= '<p>' . t('My Awesome Module') . '</p>';
      return $output;

    default:
  }
}
For the purposes of this module at the moment, we are going to leave the contents of the .module file as shown above.
Permissions
If you want to restrict parts of your module so that only certain users can access the page, but you don't want to hard code the logic the you can add a permissions configuration file to your custom module.
The name of which will be in the format of [module name].permissions.yml and this file lives in the root directory of the module at the same level as the modules info.yml file.
In the permissions yml file, you start off with adding a machine name for the permission that we will use when we add the permission to the route. I prefer to keep these names as simple as possible but descriptive enough. You then set a title and an optional description, so that the new permission can be found on the permissions page.
The permission in the [module name].permissions.yml will look a bit like the below.
access custom page:
  title: 'Access custom page'
  description: 'Allows users to access the custom page'
If you now look at Drupals permissions page, you may need to clear Drupals cache, but a section for the newly installed module (in our case 'custom page' and just like in the screenshot below) will be listed showing the permission that we have just added, allowing us to assign to other user roles.
Routing
A route is a path which is defined for Drupal to return some sort of content on. For example, the default front page, '/node' is a route. When Drupal receives a request, it tries to match the requested path to a route it knows about. If the route is found, then Drupal attempts to show the content that has been defined for the route, if unsuccessful then we show Drupal's 404 page.
To add a page, we need two files, one is a routing file that notifies Drupal that we want to add a route that it should know about. The [module name].routing.yml goes in the root directory for the module at the same level as the info.yml file.
You start off by setting a route name, typically before the full stop is the module name, the path is the url that user should visit, the _controller sets the namespace of the controller and the method that we should call when the page is requested, we can set a title using the _title key and we can also restrict the access to the page, for the purposes of this tutorial, we are using the custom permission that we added earlier and we call the permission using the machine name that we set when we added the permission.
The code below is a simple route to a custom page that I have created for our custom module.
custom_page.custom_page_controller_CustomPage:
  path: '/custom-page'
  defaults:
    _controller: '\Drupal\custom_page\Controller\CustomPageController::CustomPage'
    _title: 'CustomPage'
  requirements:
    _permission: 'access custom page'
Next we need to add the controller and method mentioned in the routing file above.
The controller for the module currently looks like the below and is stored in the web/modules/custom/custom_page/src/Controller directory and the file is named CustomPageController.php;
<?php

namespace Drupal\custom_page\Controller;

use Drupal\Core\Controller\ControllerBase;

/**
 * Class CustomPageController.
 */
class CustomPageController extends ControllerBase {

  /**
   * Custompage.
   *
   * @return string
   *   Return Hello string.
   */
  public function CustomPage() {
    return [
      '#type' => 'markup',
      '#markup' => $this->t('Implement method: CustomPage')
    ];
  }

}
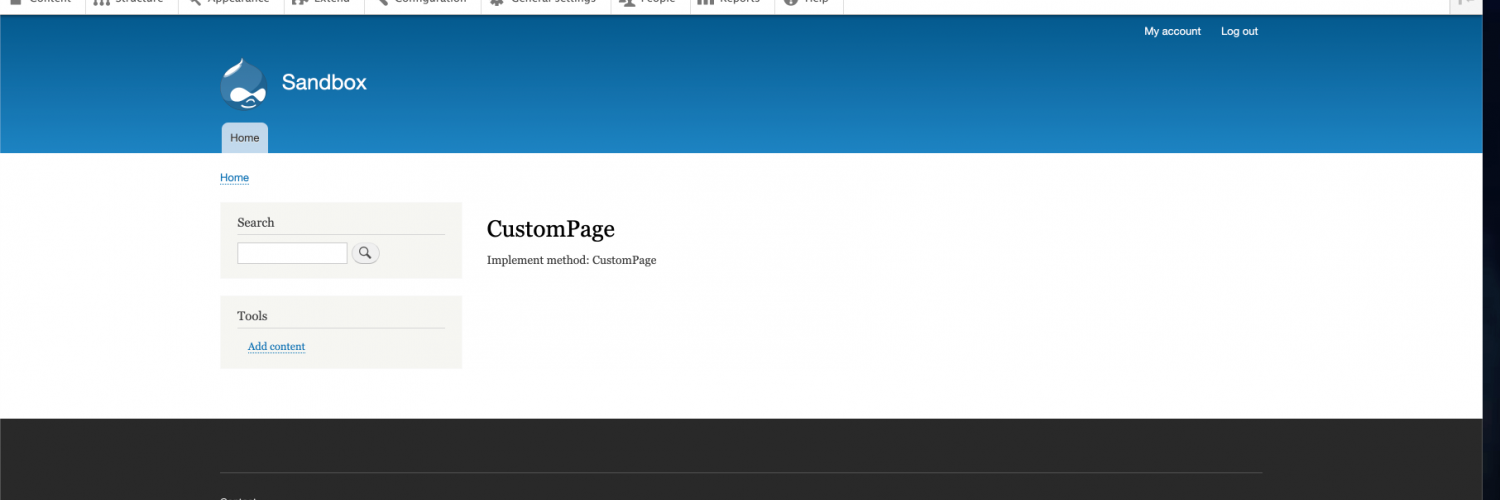
Once Drupal's caches have been cleared, you should be able to go to the new page and see the text Implement method: CustomPage.
Output and Templates
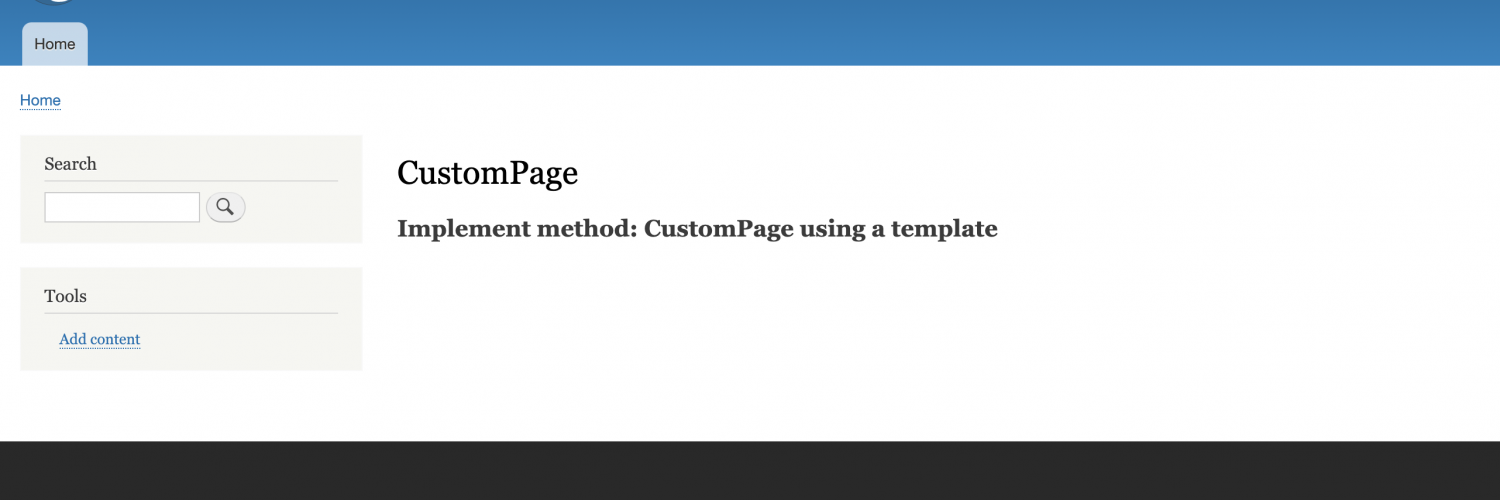
So you can use Drupals render array to output html, but the better option is to output your custom markup etc using a template. So we can alter the render array to call a theme template called custom_page_template and set a variable called custom_text that stores the text Implement method: CustomPage using a template.
The controller may look similar to the below code.
<?php

namespace Drupal\custom_page\Controller;

use Drupal\Core\Controller\ControllerBase;

/**
 * Class CustomPageController.
 */
class CustomPageController extends ControllerBase {

  /**
   * Custompage.
   *
   * @return array
   *   Return Hello string.
   */
  public function CustomPage() {

    return [
      '#theme' => 'custom_page_template',
      '#custom_text' => $this->t('Implement method: CustomPage using a template'),
    ];
  }

}
We then need to register the new twig template and variable by adding an implementation of the hook_theme function to the modules .module file. The code should look similar to the below.
We start off by adding to the theme array using a key that matches the theme name that we set in the render array in the controller, we then register the variable that we set in the controller and we also register the template name that we will be using.
The code below will enable us to create a template file called custom-page.html.twig inside a templates folder in the custom_page module.
/**
 * Implements hook_theme().
 */
function custom_page_theme() {
  $theme['custom_page_template'] = [
    'variables' => [
      'custom_text' => NULL,
    ],
    'template' => 'custom-page',
  ];

  return $theme;
}
The custom-page.html.twig can then be used to output the custom variable custom_text along with some markup.
<h2><strong>{{ custom_text }}</strong></h2>
The output of the custom page should look a bit like what is shown in the image below.
Url paramaters
One of the things that you can do with routes, amongst other things is to grab data that is passed via the url as a parameter. There are other parameters that we can pass like node objects, but we won't go into that here, although there are some documentation on that on drupal.org, if needed.
The first thing to do is to add a parameter to the route in the custom_page.routing.yml file, the parameters go inside single curly braces in the path section and you can set a custom name, multiple words should be connected with underscores.
custom_page.custom_page_controller_CustomPage:
  path: '/custom-page/{name}'
  defaults:
    _controller: '\Drupal\custom_page\Controller\CustomPageController::CustomPage'
    _title: 'CustomPage'
  requirements:
    _permission: 'access content'
Next you add a variable to the method that the route calls to output the page, I would call the variable the same as the parameter name that you set in the routing.yml file. We can then output the contents of the parameter to the twig template, by adding it to the render array, as shown in the controller code below.
For security reasons and for belts and braces, you should add in additional logic before the data input via the parameter is output to ensure that you don't open cause any security issues for your website. Although the way Drupal 8 is built particularly the usage of twig means that there is atleast some sanitisation processes happening by default for security reasons.
<?php

namespace Drupal\custom_page\Controller;

use Drupal\Core\Controller\ControllerBase;

/**
 * Class CustomPageController.
 */
class CustomPageController extends ControllerBase {

  /**
   * Custompage.
   *
   * @return array
   *   Return Hello string.
   */
  public function CustomPage($name) {

    return [
      '#theme' => 'custom_page_template',
      '#custom_text' => $this->t('Hello World'),
      '#name' => $name
    ];
  }

}
We then need to register the new variable in the hook theme function implementation, so that we can use the variable in the twig template.
/**
* Implements hook_theme().
*/
function custom_page_theme() {
$theme['custom_page_template'] = [
'variables' => [
'custom_text' => NULL,
'name' => NULL
],
'template' => 'custom-page',
];
return $theme;
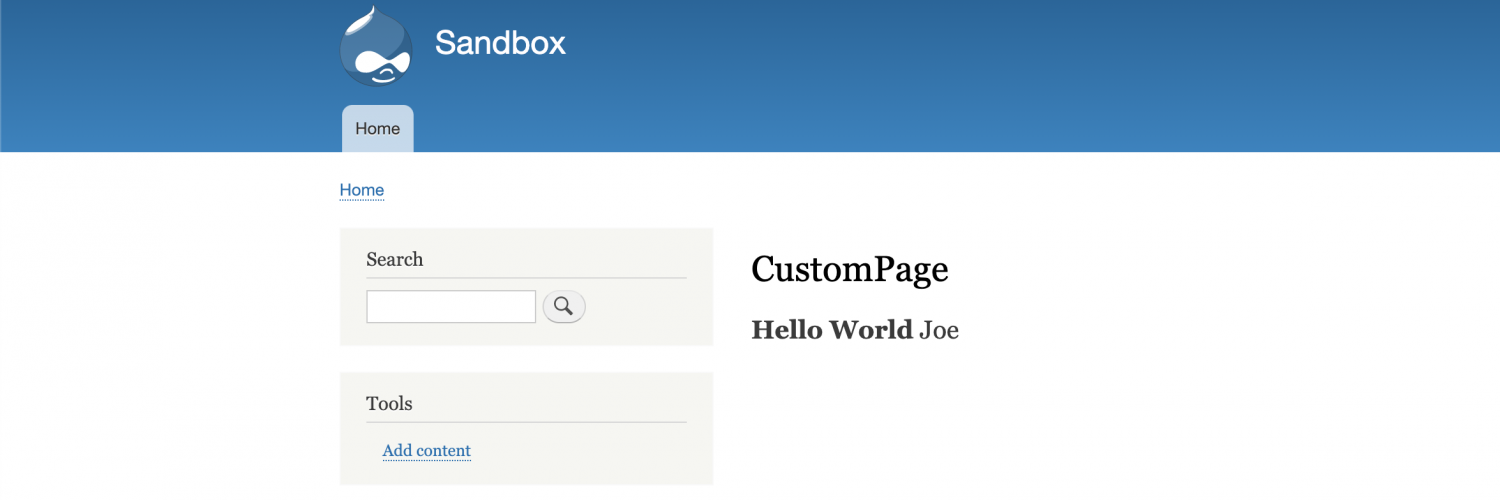
}We can then add the new variable to the twig template added earlier.
<h2><strong>{{ custom_text }}</strong> {{ name }}</h2>
We should then see similar output to the below screenshot, if I go to custom page created earlier and append a name or some other text to the url, it should get output to the page.
Menu Links
We can add menu links to a few different places in the backend of the Drupal site. Depending on which type of menu link that you want to add, will dictate which menu link configuration files you should add to the module, these files go at the root of the module, at the same level as the modules info.yml file.
The main files that we will be talking about are;
[module name].links.menu.yml
This configuration file allows you to add a menu link to the admin toolbar. You start off by giving the menu link a machine name, followed by a title and a description, you then set the menu link to call a route name, so that the menu link will direct the user to the correct page. By setting the parent to system.admin the menu link will show on the admin toolbar and you can move the menu link about by altering the weight value.
Your configuration file may look similar to the code below:
custom_page.admin_menu_link:
  title: 'Test settings'
  route_name: custom_page.custom_page_controller_CustomPage
  description: 'Access the test settings page'
  parent: system.admin
  weight: 1
If you don't have or know what the route name is, you can set a url instead, just use url instead of the route_name key, if it is a link to a page on the same site, you can prefix the page uri with internal:. Your configuration file may look similar to the below.
settings:
  title: 'Test settings'
  url: 'internal:/admin/custom-page'
  description: 'Access the test settings page'
  parent: system.admin
  weight: 1
You should then see a new menu link showing on the admin toolbar with the menu title that you set, as shown in the screenshot below.

You can also add a menu link to the main Drupal admin page, the process is similar to the above, the only difference really is the parent value that you set,
instead of using system.admin, you will need to be a bit more specific in order for the menu link to show up in the section of the list that you want, as if you look on the main admin config page, you have a number of different menu links grouped by headings, it is essentially these headings that we are referring to when setting the parent.
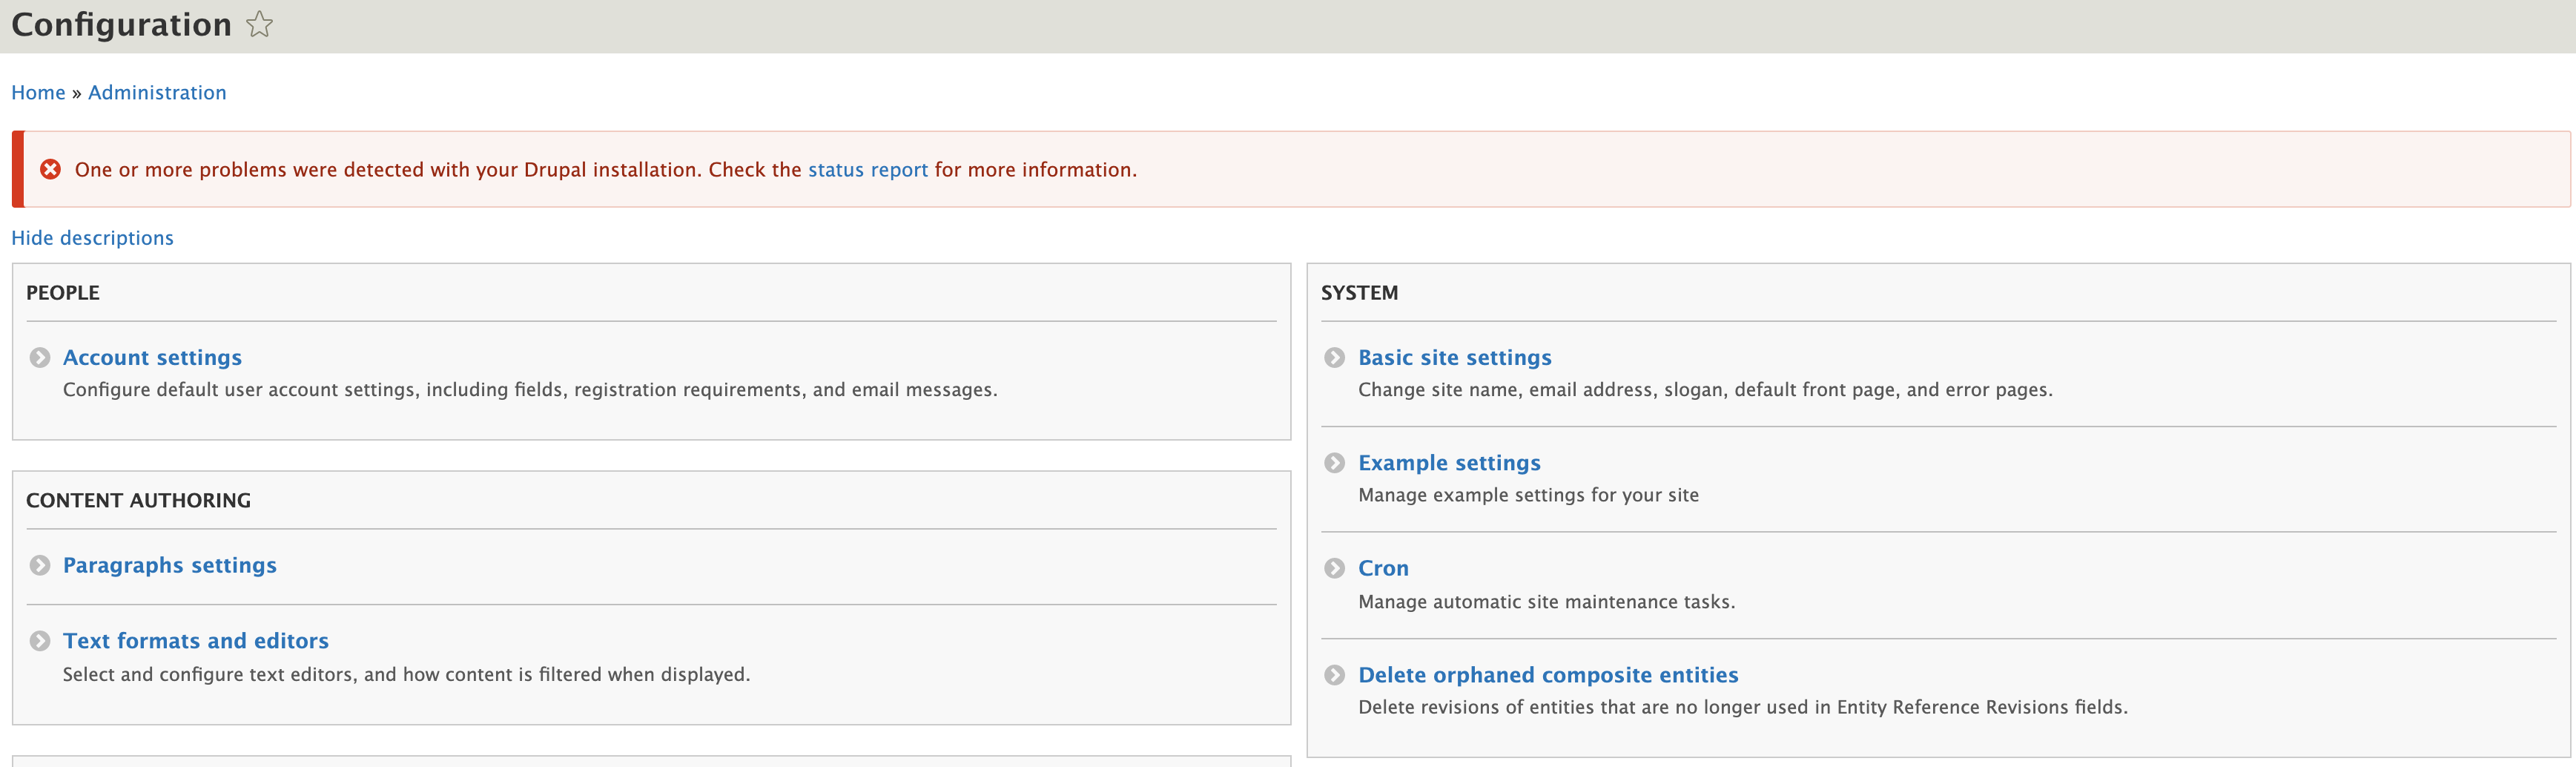
If we want to have the menu link show up in the section with the heading of system, then we set the parent to system.admin_config_system.
custom_page.admin:
  title: 'Example settings'
  description: 'Manage example settings for your site'
  parent: system.admin_config_system
  route_name: custom_page.custom_page_controller_CustomPage
You should now see the menu link in the system section on Drupal's configuration page, like shown in the screenshot below.
[module name].links.task.yml
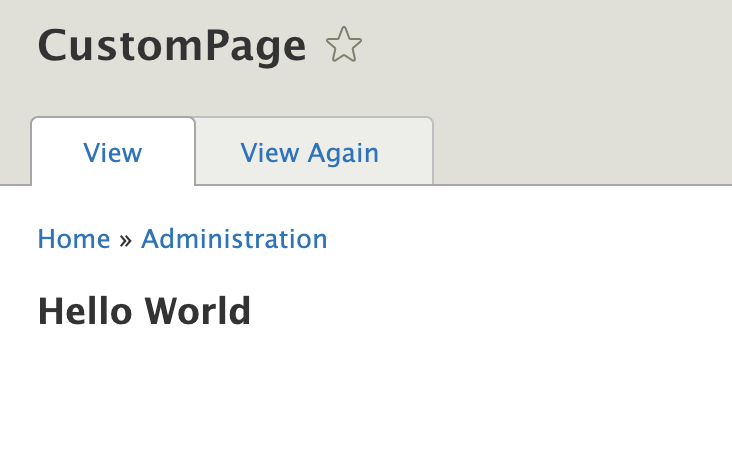
This menu link configuration file is used for adding tabs to a page. For the tabs to work, there should be atleast two tabs. Just like the above, you give each tab a machine name, usually using the module name before the full stop and you give each tab a title. Now for the route name and base route, you set the route name for each tab to the routes of the pages that you want to show the content from. The first tab will be the first page that the user sees.
For all tabs, the base route should point to the same route, which will typically be the route of the first tab that the user should see when they go to the page, which most likely will be the first tab listed, this also ensures that the tabs show on the correct page, if the base route is different for each, then you won't see the tabs.
custom_page.admin:
  title: 'Tab One'
  route_name: custom_page.custom_page_controller_CustomPage
  base_route: custom_page.custom_page_controller_CustomPage
custom_page.admin_two:
  title: 'Tab Two'
  route_name: custom_page.custom_page_controller_CustomPage_test
  base_route: custom_page.custom_page_controller_CustomPage
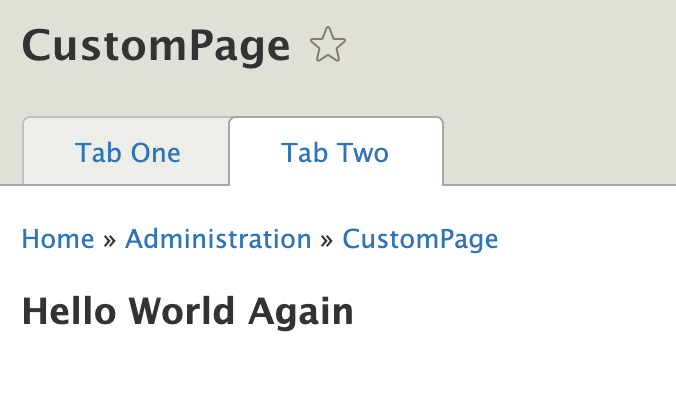
You should see something similar to the below screenshot.
[module name].links.action.yml
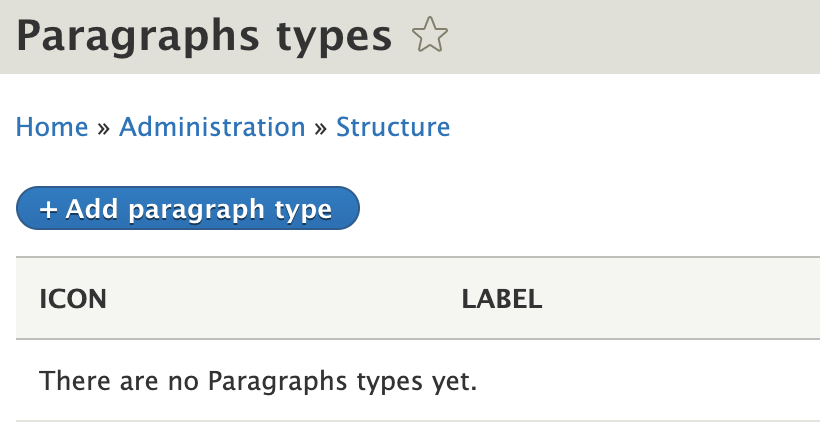
This configuration file is used to add links on a page that allows the user to complete an action. For example adding a node to a site from Drupals main admin content listing page. Or like the below code which is from the paragraphs module, that will add an add paragraph type button to the paragraph type listing page.
paragraphs.type_add:
  route_name: 'paragraphs.type_add'
  title: 'Add paragraph type'
  appears_on:
    - entity.paragraphs_type.collection
The above configuration will add the button as shown in the screenshot below.
Drupal Console
Drupal console is a really handy console tool that speeds up the development process by, giving developers lots of commands that can be ran that allow us to enter in information as responses to questions returned by the console commands, which will generate the various files and code to get us started and certainly helps with ensuring that all of the required elements are there for the modules etc to work.
Like most tools, it doesn't do everything, but it certainly helps streamline the development process a little, there are some Drupal 9 related bugs, for example, the core version requirement key added for version 8.7.7 and above, therefore including Drupal 9 does not get added, so you will need to add this manually.
The commands that can be used to generate most of the code mentioned in this tutorial are;
drupal generate:module
drupal generate:permissions
generate:controller